Thread sealant can be used for various applications that require a watertight and airtight seal. Thread sealant tape is simple to use yet effective when used properly.
Oatey brands offer a variety of thread sealant tape to provide a clean, positive seal on threaded connections. Before you begin, make sure you choose the right thread tape for your project.
Remember, before applying any plumber’s tape, ensure your system is approved and compatible with the thread tape. You can find this information on the thread sealant container or check with your system’s manufacturer.
What You'll Need For This Project
- Thread Sealant Tape
- Cloth or towel
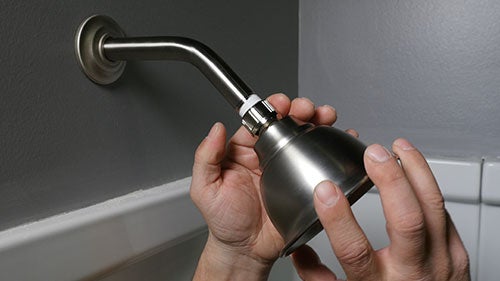
1. Clean Threads
Make sure all your pipe threads are clean. You'll want your joints free from rust, scale, grease and other contaminants. Remove any debris with a clean cloth.
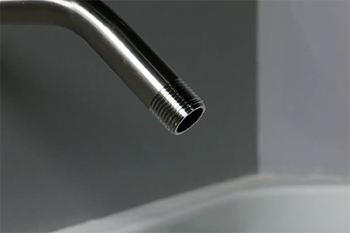
2. Pull End of Tape From Roll
Separate the end of the tape from the roll and position the tape on the threads, continuing to hold the tape end.

3. Wrap Tape Around Threads
Wrap tape in a clockwise motion tautly around the threads three to five times. Make sure you cover the threads completely. Note: Watch for excess tape-wraps. Any extra thread tape will get pushed out of the joint.

4. Separate Tape From Roll
Pull to separate the tape from the roll – the tape will snap free easily. Smooth the end of the tape onto the threads.

5. Thread Your Connection
Finally, assemble the joint. Since there are no cure times for plumber’s tape, you can test the joint immediately after assembly.