Oatey® Freestanding Tub Drains make accessing DWV (drain-waste-vent) systems during the installation of freestanding tubs easier than ever before. For use with offset or off-center drains, these innovatively designed kits make it easy to drop in drain pipe connections and eliminate the need for access to subfloors during lengthy stub-out processes. Oatey Freestanding Tub Drains are compatible with PVC and ABS piping, and are ideal for renovations with limited access or installations on slabs.
What You'll Need For This Project
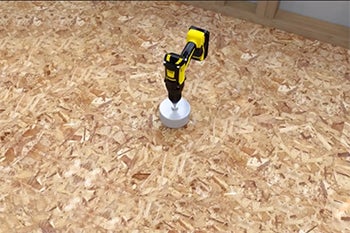
1. Cut a Hole in the Sub-Floor
Using the supplied cutout template, use a hole saw to cut a 4 in. hole into the wood sub-floor.
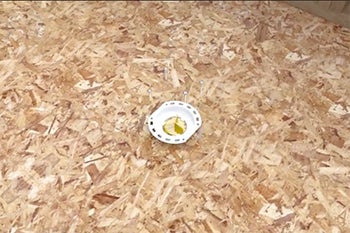
2. Connect Bathtub Drain and Ensure It Is Levelled
Affix the drain body to the sub-floor with 4 screws. For concrete installations, be sure to use screws and anchors approved for use with concrete.
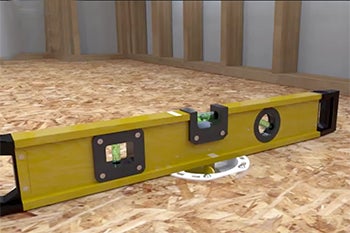
Use a level measuring tool to ensure the drain body is level.
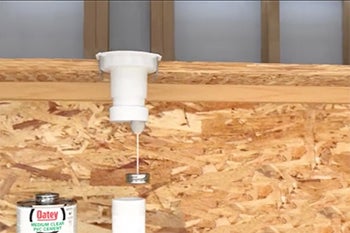
3. Secure Drain Body to P-Trap
Use approved Oatey primer and cement to connect the drain body to the P-trap below the floor. (If using 2 in. P-trap, use supplied 1-½ in. x 2 in. adapter.)
Recommended Products:
Masters® ABS-PRO Medium Body Yellow Cement
Note: If working with PVC, use Masters® Primer-PRO Purple Primer and Masters® PVC-PRO Medium Body Gray Cement
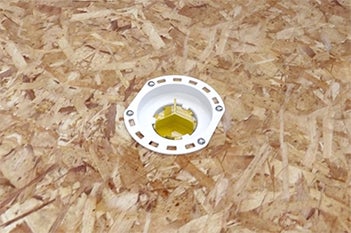
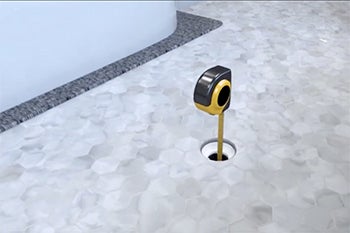
4. Test for Leaks
Confirm that the pre-installed, quarter turn test plug is secured in the drain opening and test for leaks. Leave the test plug in the drain opening and secure the protective cap over the drain assembly until ready to set the tub.
Note: Refer to your local code for leak testing requirements.
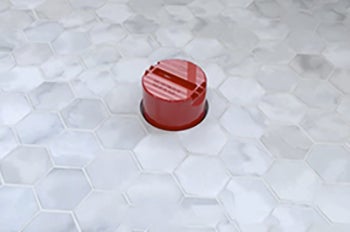
5. Install Flooring
Install flooring up to the protective cap cover. DO NOT remove the protective cap until you are ready for the tub installation.
Note: Waterproofing methods that include applying liquid or using sheet membranes are not compatible with the Freestanding Tub Drain.
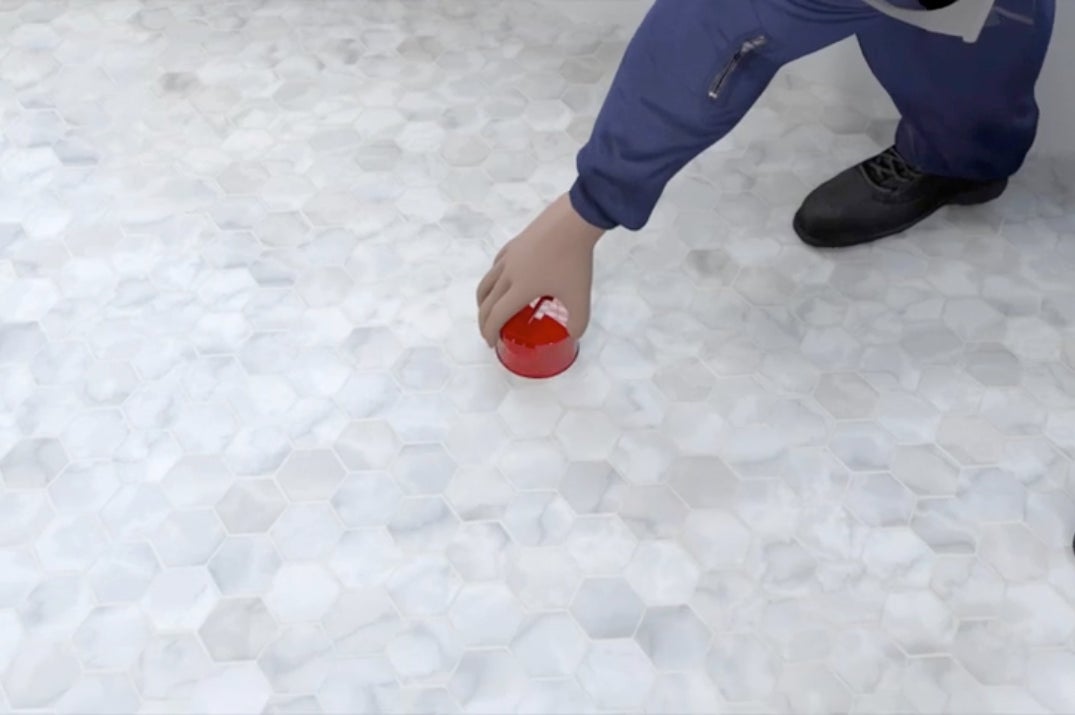
6. Install Tailpiece
If your tub’s drain tailpiece is Schedule 40 PVC/ABS, view this installation guide for additional steps.
Remove the protective cap cover and test plug (using a counter-clockwise ¼-turn) from the drain assembly. Remove any existing debris.
7. Measure P-Trap and Tub Drain
Measure the distance between the base of the tub drain and the base of the P-trap. Confirm that the distance will accommodate the supplied brass tailpieces. DO NOT cut the supplied brass tailpieces.
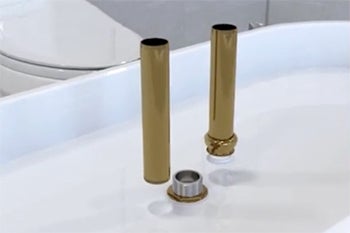
8. Connect Tailpiece to Tub Drain
Depending on the connection type of your tub drain, select the included threaded or flanged tailpiece, and connect it to the tub drain. Use the ABS/PVC adapter as needed.
a. If using threaded tailpiece, use approved Oatey thread sealant to create seal.
b. If using flanged tailpiece, use supplied nut and washer.
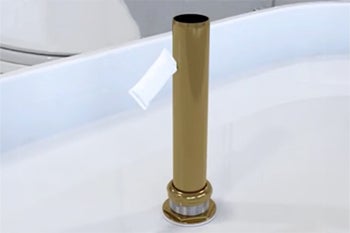
9. Lubricate Tailpiece
Apply supplied lubricant to the tailpiece.
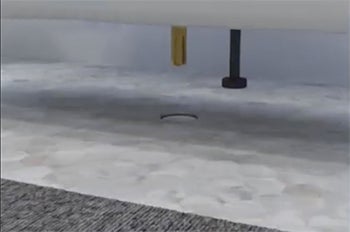
10. Lower Tub into Drain
Carefully lower the tub with the installed brass tailpiece into the drain opening. Ensure the tailpiece is fully engaged with the sealing mechanism.
11. Secure Installation
Ensure that the tub base makes contact with the flooring.